.
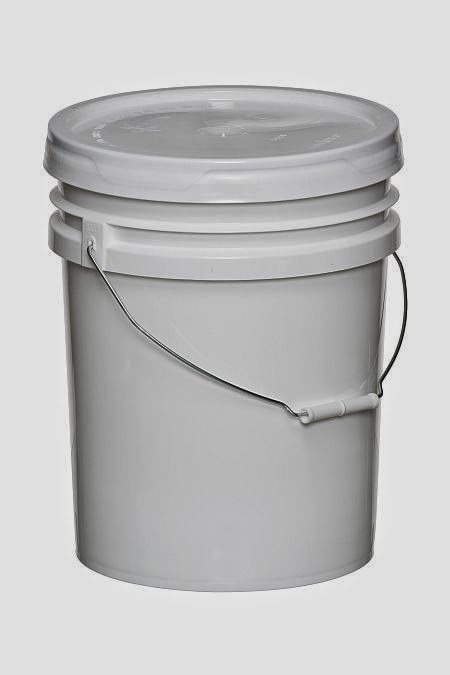
Step #1 - Get two plastic buckets and a drill.
.
.
Step #2 - Drill several holes throughout one bucket to provide both air and drainage for your compost. Place the bucket with the drilled holes inside of the other pail, to capture run-off moisture and keep your balcony clean.
.
.
Step #3 - Add a layer of "brown" materials, such as sawdust, shredded cardboard or paper.
.
.
Step #4 - Add a layer of "green" material, such as leaves or grass clippings, like the ones I pinched from the yard-maintenance crew when they mowed the complex's lawn the other day.
.
.
Step #5 - Add your food scraps like coffee grounds, fruit cores, vegetable peels, and any garden refuse. You can basically add anything organic that isn't from an animal - except for egg shells, those are okay too. After some organic refuse has built up, cover it with more greens and repeat the process.
.
.
Step #6 - Continue adding layers as the compost builds in the bucket, occasionally stirring the mix. If the mixture gets too dry, you may need to add water to it, although with the moisture in material like grass clippings there likely won't be any need to add water.
You don't necessarily need to leave the lid on the bucket, but I'm going to because it gives me another place to keep a pot, although, I think I'll keep the lid slightly ajar to let in more air. In a few weeks, there should be compost ready to spread on the plants.
.
----------------------------------------------------------------------------------------------------------------------------
.
The Composting Journal
.
May 22, 2014
.
.
 The compost
has been going for around a month now, with me turning it over about
once a week. It's starting to look pretty good down below, and has that
rich (smelly) fertilizer smell to it. The bucket was about half full, so
I used it and spread it around the garden since I haven't fertilized at
all this year yet. Next year, I should get a compost bucket going a
little earlier in the season so I can give the plants a jump-start right
away.
The compost
has been going for around a month now, with me turning it over about
once a week. It's starting to look pretty good down below, and has that
rich (smelly) fertilizer smell to it. The bucket was about half full, so
I used it and spread it around the garden since I haven't fertilized at
all this year yet. Next year, I should get a compost bucket going a
little earlier in the season so I can give the plants a jump-start right
away..
Note - During this time, I did add an empty olive jar underneath the main bucket, to raise it out of the second bucket and create more airflow.
.
----------------------------------------------------------------------------------------------------------------------------
.
February 26, 2015
.
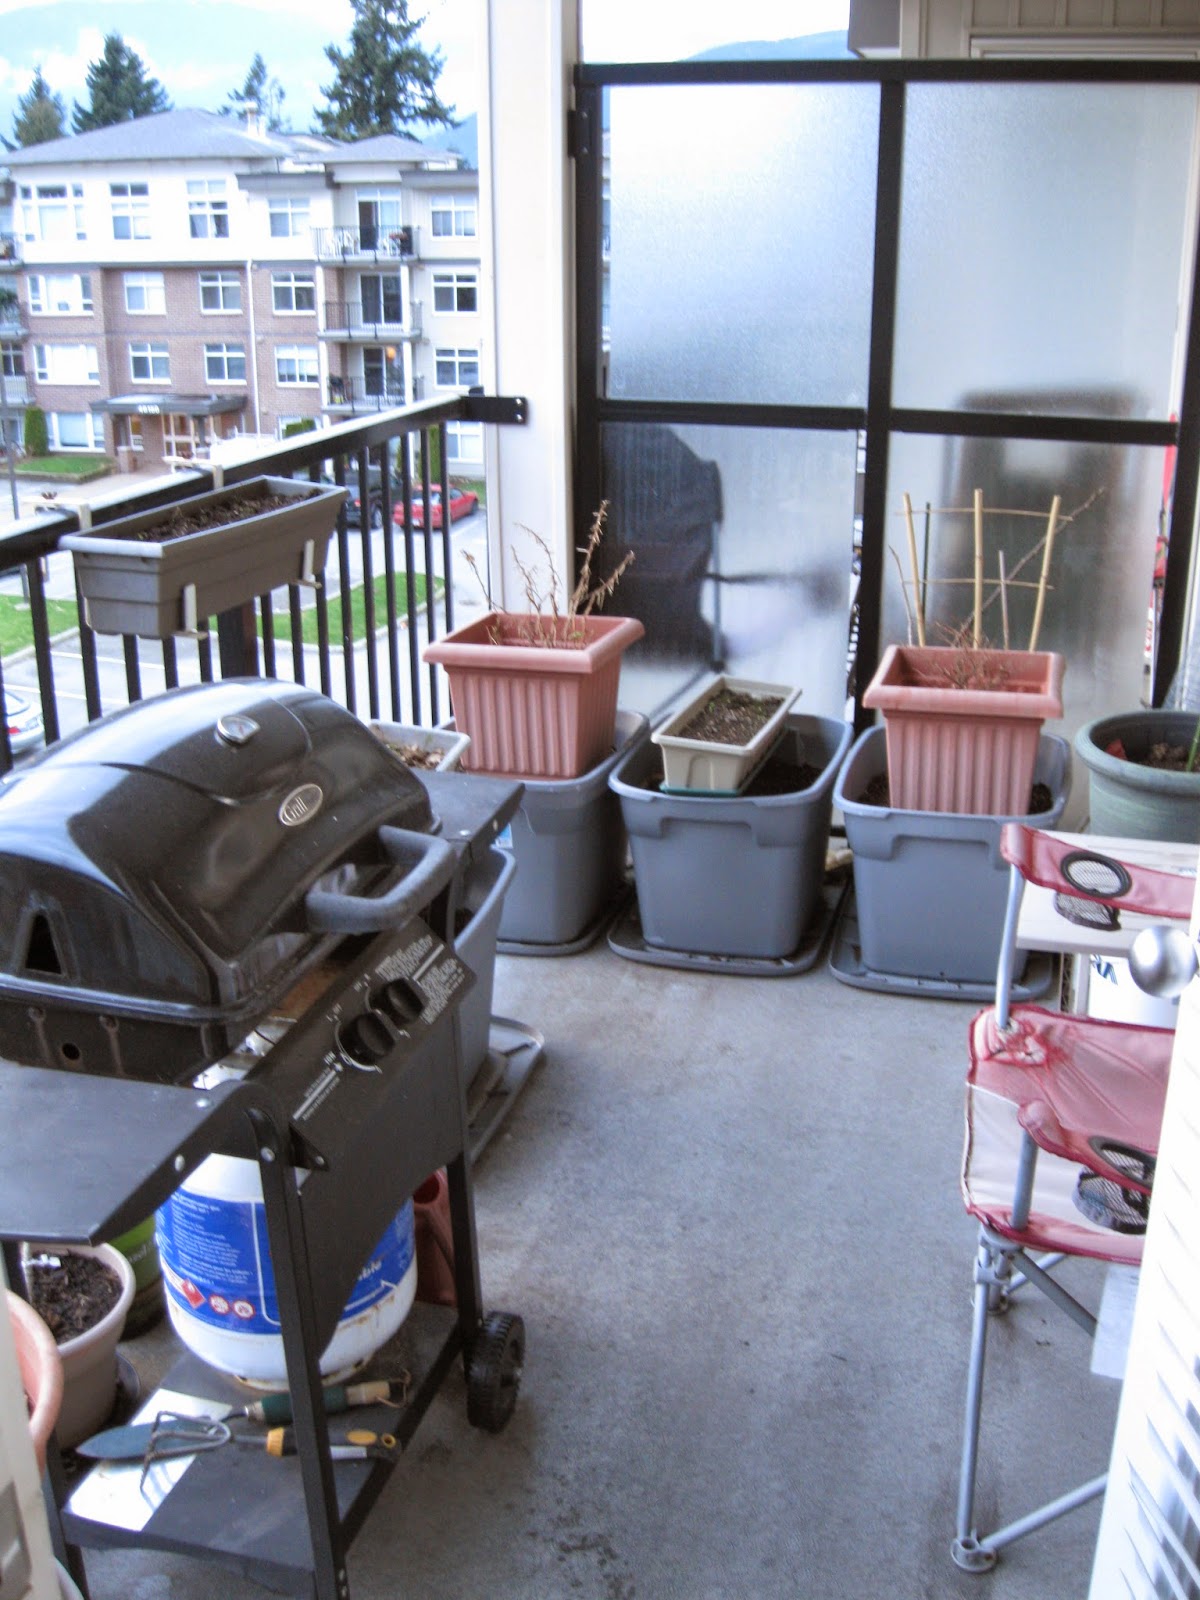
The first thing I did was go through the compost pail. Composting has been a mixed success for me so far. As you can see in the buckets below, there is a lot of nice, loamy soil that has been created - but not all of it composted equally. On the right you can see the remains of last summer's potato plants, which obviously did not fully decompose, so I picked most of it out and threw it into the trash before spreading the rest around in the pots on the balcony.
.
.----------------------------------------------------------------------------------------------------------------------------
.


